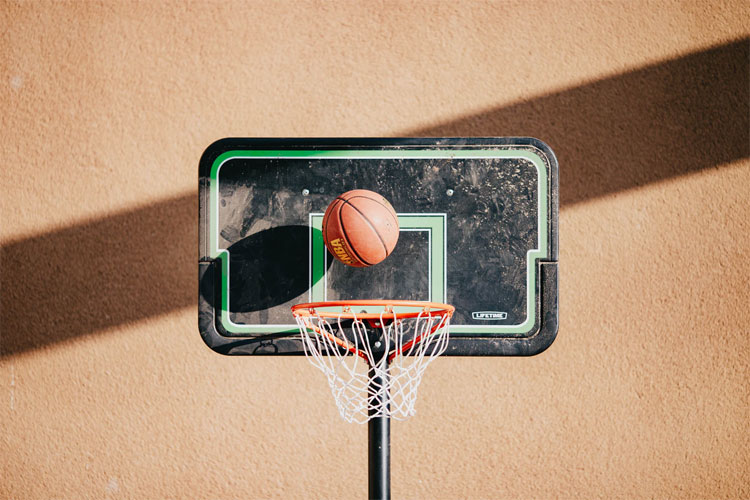
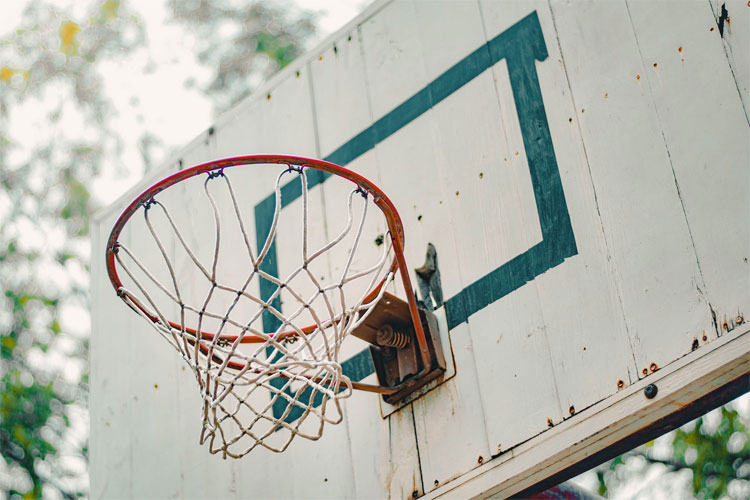
Basketball is one of the most popular sports in the world, and having your own basketball hoop in the backyard or driveway is an authentic piece of Americana.
Just think of the children spending countless hours with their parents shooting hoops and young, budding ballers honing their skills on their home hoops.
Installing a home hoop used to require plenty of DIY and custom fabrication, but fortunately, this is not the case anymore.
There are dozens of manufacturers of basketball hoops and accessories, and it has never been easier to own a high-quality hoop at home and feed that basketball hunger.
This guide will outline the most important factors when installing a home basketball hoop and details you should pay attention to, including a buying guide for choosing the perfect hoop for your needs.
If you always dreamed of having a basketball hoop in your backyard or driveway, read on.
Before You Buy a Basketball Hoop
Before you decide on spending hundreds of dollars on a basketball hoop, you should do a bit of groundwork to evaluate whether your home, driveway, or backyard can accommodate a basketball hoop and if some modifications are necessary.
The first decision you will have to make is the location of the basketball hoop.
Do you have a backyard that includes a paved area (so the basketball will not bounce on grass or dirt)?
Is there enough room in your driveway for comfortable playing?

Although you do not have to have a regulation-size court, an area of at least 15 feet in all directions from the hoop should be enough for casual hoops and shooting.
Depending on your budget, you might consider even laying a fresh layer of concrete in your backyard to create a perfect home basketball half-court.
If not, you can always talk with your neighbors and install a shared basketball hoop in the area nearby.
Basketball Hoop Buying Guide
The process of choosing a perfect hoop for your needs is quite complex, as there are quite a few factors to consider.
After all, you want the playing experience to be rewarding and match your local gym as closely as possible.
Basketball Hoop Type
The first factor you should consider when evaluating different hoop models is the type of installation/mount your hoop needs. This entirely depends on the intended location of your home hoop.
If you have a large backyard and paved area for a basketball court, you will most likely need an in-ground basketball hoop. It provides the best stability and the most realistic hoop experience.
Those working with some limitations in terms of space might choose to mount a basketball hoop on either the back wall or above the garage door of their home.
When shopping, you should look for a hoop that comes with a custom mount that can fit any wall or attach to the side of the house above the garage door.
Backboard Size and Material
A full-size competition regulation backboard is 72 inches by 48 inches.
Although this size replicates the authentic basketball experience, it is also not convenient for smaller home courts or driveways.
Basketball hoops come in a variety of backboard shapes and sizes, with widths spanning from 42 inches to the regulation 72 inches.
A general rule of thumb is to choose the largest possible backboard that fits in your playing area and does not obstruct your windows, doors, etc.
Related: Best 54-Inch Backboard Hoops

Tempered glass, plexiglass, acrylic, wood, and plastic are just some of the materials used for manufacturing basketball backboards.
Tempered glass is by far the best material, always used in professional basketball competitions. It is also heavy and expensive.
Acrylic and plexiglass cut the weight and offer better value while retaining the bounce similar to glass.
Wood and plastic should be your last resort. They have a much weaker bounce, do not give that authentic feel, and are less durable and will not last nearly as long.
Rim Type
Basketball hoops come with two rim types, a standard fixed rim and a flexible breakaway rim. Breakaway rims are a standard in all official basketball competitions across the globe.
If you intend to do some casual shooting alone or with your siblings or kids, then a fixed rim would be more than sufficient. All rims are 18 inches in diameter and should not influence the casual playing experience.

If you need something that will closely simulate the real playing experience – a place to practice for shooting and rebounding for competitive basketball – then definitely go with a breakaway rim.
The price increase is not outrageous, and you will also get a more durable basketball hoop that will take the punishment if you or your friends can dunk.
DIY Installation vs. Professional Installers
You have chosen a place to put your basketball hoop and managed to find a model that suits your needs and budget.
If you decide to DIY, understand that this will take time and require you to have the necessary tools to install the hoop yourself. If you are savvy with your hands, DIY installations are a great way to save some money on an already sizeable investment.
Many retailers of basketball equipment also offer professional installation services for hoops. By hiring a professional, you ensure that the job will be done adequately and efficiently.
For the sake of this guide, we will offer more advice on DIY installation.
Installing an In-Ground Hoop
If the hoop of your choice requires an in-ground installation, these are the steps you should follow:

Step 1 - Choose a Location for the Hole
You might already know where you want the hoop to stand, but finding a place to dig a hole is a different story.
You have to ensure you will not hit any critical installations or cables underground, so consult any home plans you might have. If you’re still unsure, ask an expert.
Step 2 - Dig a Hole
Make sure to consult the installation instructions that come with a hoop. The size of the hole will depend on the hoop size, weight, and type. Carefully measure before digging.
Step 3 - Pour Concrete
You will use concrete to stabilize the pole construction that will hold the hoop.
Cheaper, simple models might just have a steel pipe pole that you will need to put into the hole, secure, and pour concrete around it to make it stable.
Higher-quality hoops come with a rebar-mounted anchor that you will insert into the hole with the fresh concrete.
On average, you will need to wait anywhere between 24 and 48 hours before the concrete is hard enough and you can test the hoop.
Step 4 - Raising the Hoop
If the anchor is steady and the concrete has set, it is time to raise the pole construction.
Keep in mind some hoops require a backboard to be attached to them before raising the pole. The pole has to be securely and safely attached to the concrete anchor.
If you cannot do it alone, ask someone for help raising the pole and putting it in place.
Step 5 - Attaching the Backboard
If you purchase the backboard and hoop with the metal construction, chances are you will have the necessary mount, attachments, and screws to secure the backboard to the pole.
Make sure you use all of the screws and tighten them properly. The backboard should have some flex, but if it moves too much, something might be installed wrong.
Step 6 - Installing the Rim and the Net
The final step is to attach the rim for the basketball hoop and add the net. Do not overtighten the breakaway rim when installing or it will become increasingly stiff and lose that flex that you desire.
Also, it could decrease the reliability of the rim.
Step 7 - Final Adjustments
The hoop is standing tall, and the location is ready to accommodate players and neighbors, but there are a few minor adjustments to be made. First, adjust the height of the rim to precisely ten feet from the ground.
Also, make sure that there is enough clearance below the backboard. A good rule of thumb is to reserve 2.5 to 4 feet from the rim to the ground for unobstructed play.
Installing a Wall-Mounted or Garage Basketball Hoop
The main difference between these two hoops and the in-ground hoop is that you do not need to do extensive work of creating a strong foundation to support the backboard and rim.
Here are the steps for installing a hoop on a wall or garage:

Step 1 - Install a Mount
Both garage and wall hoops use a specialized mount, included with the hoop.
Carefully measure out the central location where you will drill holes and securely attach the mount. The mount also provides the necessary clearance below the rim, so you do not get injured when playing.
Step 2 - Attach the Backboard and Rim
With the mount in place, you will now place the backboard and align it with the mount. Use the provided screws to tighten the backboard to the mount and do the same for the rim.
Make sure you check the wall or house siding for integrity beforehand.
Step 3 - Adjust the Basketball Hoop and Rim
Finally, you can check the height of the hoop and make any adjustments if necessary. If you are using a breakaway rim, make sure to adjust the tension so it feels realistic yet provides enough support for dunks.
Save any additional screws and accessories in case you need them down the line.
That’s it! If you have planned and already considered the factors we mentioned above, the actual installation should be a breeze. Enjoy your hoop!
Don't want the trouble of installing a basketball hoop? Then you might want to consider getting a portable basketball hoop which you can easily store away when not in use.
You might also like: 7 Easy Steps to Remove a Basketball Pole
