Do you want to build a basketball court in your backyard but don't know where to start?
The average cost of a backyard basketball court is around $46,000, including $13,000 for labor. This means that merely DIYing can save you 22% on your expenses.
We won't pretend that it will be simple. In fact, it’s quite a challenge to take up. But we can assure you that the final product will be well worth the effort.
So, if you're up for the task, here are ten simple steps to setting up a DIY backyard basketball court.
But first, let's address a few questions:
What Do You Need For A DIY Basketball Court?
Setting up a DIY baseball court can be as simple as installing a hoop. However, if you want to appreciate the experience fully, you'll need a lot more time and resources to create a near-perfect court.
The following is a list of everything you'll need:
- Tape measure
- Tamper
- Rake
- Shovel or a mini excavator
- Basketball court stencil kit or spray paint and masking tape
- Stakes to mark the court
- Two hoops, one if you are building a half-size court
- Concrete
What Flooring Material Will You Use?
Choosing a suitable material for your court base is a good place to start, and it may be the most crucial decision you'll make.
While it may appear simple, it requires a great deal of thinking. Shock absorption, area deflection, vertical deflection, friction, and ball bounce are a few other critical performance features.
Moreover, an outdoor court requires a durable, all-weather material to withstand harsh environmental conditions.
So, what are the options when it comes to the flooring material?
Asphalt
Asphalt is the most cost-effective basketball court flooring option. It is also relatively easy to maintain, paint and mark, although it may not resist freeze and thaw cycles.
Concrete Slab
A concrete court is the most popular choice for outdoor basketball courts since it is affordable and long-lasting.
However, since it is more rigid, it is not suitable for extended periods on the court unless it is resurfaced with tiles or rubber flooring.
Sports Tiles
Outdoor sports tiles are made to endure the weather and are fade and slip-resistant. They're also perforated, allowing water and debris to pass through.
You'll also like how simple they are to install, how they absorb shock better than concrete, and how you can customize them.
Hardwood Floor
After deciding on the base of your court, the next critical decision is the size.
Because of its superior performance, hardwood flooring is the industry standard for basketball courts. Regardless, it does not do well in the outdoors. As a result, you will have to spend extra money on upkeep and a protective cover.
Once you’ve settled on the base, the size of your court is the next crucial step.
Size & location
If your backyard isn’t big enough, you have the option of a full-size court or a half-court. Here are the various basketball court dimensions to give you an idea:
Full-Courts
- A standard NBA full-size court: 97 by 50 feet
- A high school full-size court: 84 by 50 feet
- A junior high school full-court: 74 by 42 feet
Half-Courts
- A standard NBA half-size court: 47 by 50 feet
- A high school half-size court: 42 by 50 feet
- A junior high school half-court: 37 by 42 feet
- A 3-on-3 court: 30 by 30 feet
Steps For Building A DIY Basketball Court
1. Mark The Court Dimensions
Once you have decided on the court size you want and where to have it, mark the dimensions for precision. You can use a tape measure and place a stake at each of the four corners of your court.
Do not forget to leave ample space around the sidelines.

2. Level The Ground
The basketball court needs to be on level ground. Some areas are flat enough to be used as flooring surfaces, such as sports tiles. Otherwise, you will have to dig up some dirt to level the field.
For example, if you use concrete flooring for your basketball court, it will require some digging.
First, clear the marked area of all debris apart from dirt. Then excavate about 8-inches deep, starting from the center and working outwards. You can either rent a mini excavator to help with the digging or do it yourself with a shovel.
Next, frame the area with boards. Ensure they are level to prevent concrete from overflowing.
3. Fill With Compact Gravel
Fill about ¾ of the area with gravel and spread it evenly using a rake. Moreover, use a tamper to compress the stones for a sturdy base.
4. Install A Rebar
Lay a rebar or steel mesh to protect the flooring from cracks and damage caused by tension. You can also dig holes (3-feet deep and 16 inches wide) for basketball hoops at this time.
5. Pour Concrete
Pour concrete into the area around the basketball hoop holes. You may also hire a concrete company to help you with this.
6. Smooth Concrete
While still wet, use a concrete float tool to smooth the concrete and create a flat, level surface. You will need about 36 hours for the concrete to set.
Moreover, you can also add a surface such as rubber or tiles for enhanced comfort.
7. Cut Concrete
Use a concrete saw to cut the concrete (about 1-inch deep) every 10 feet to end up with 10 ft. by 10 ft. sections. This will keep the slab from cracking due to expansion and contraction.
8. Install Hoops
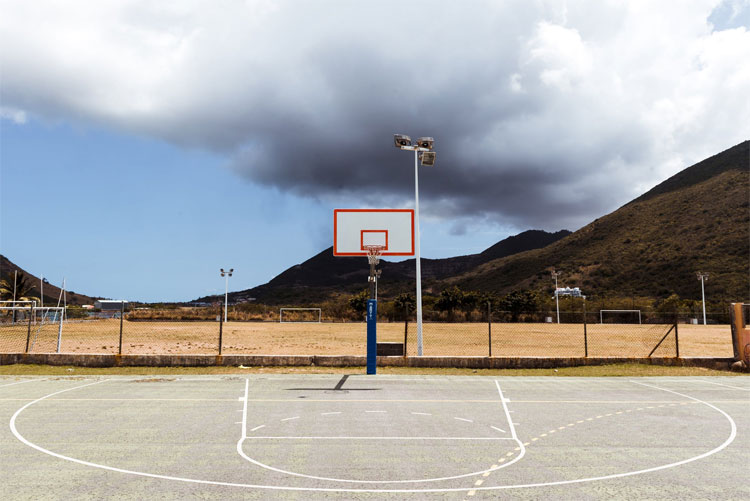
Install two hoops about 2 feet into the ground, one on each side of the court. Ideally, the hoop should be 10-feet off the ground.

However, you can consider one with an adjustable height to match different people, including kids.
9. Mark The Court
Some surfaces come marked already, so you don’t have to go through the hassle. Otherwise, you can use a stencil kit or masking tape and chalk to mark the court and then spray-paint the area.
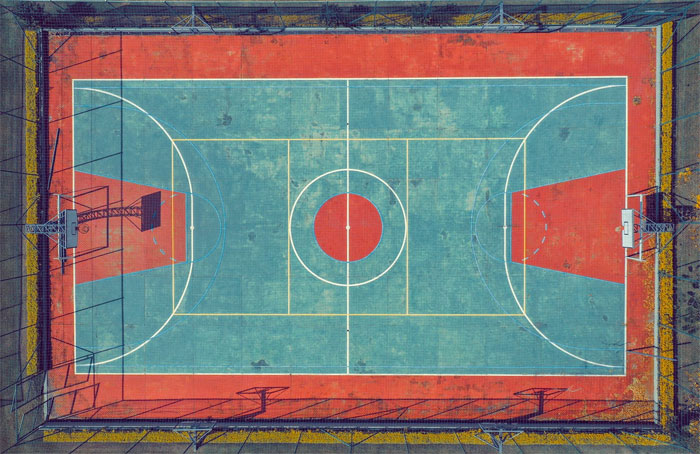
You can also use this basketball court layout guide to help you out, alongside the guide below for a 94-foot by 50-foot court:
- Free throw lanes: Mark 16 feet by 19 feet boxes in front of each hoop.
- Three-point line: Measure 3 feet in either corner of the short sides, and mark these as the start-points for the 3-point line. Then, draw 14 foot long lines from each point onto the court. Next, measure a length of 23.75 feet from under the hoop and draw a semi-circle to connect the 14-foot lines drawn earlier.
- Midcourt line: Measure 47 feet from either of the short sides and mark it. Then, measure 1-inch out of the mark on each side and draw a 2-inch-thick line extending to the long side of the court.
- Out-of-bounds line: Draw a 2 to 3-inch thick line surrounding the court.
10. Do Not Forget To Accessorize
Now comes the fun part: accessorizing. You didn't come all this way to play on an ordinary basketball court, did you? So, why not let your creativity go wild and design something that will wow everyone?

The best part about a DIY backyard basketball court is that it allows you to add a unique touch to the space. Once everything is set in place, it’s time to get creative.
Feel free to add beautiful artwork or paint the court markings in the color of your team. Even better, you can paint your team's logo onto the court!
Moreover, adding a backstop netting and fence can protect your windows and keep the ball from falling into the bushes, on the road, or into your neighbor's complex.
Keep in mind, however, that some accessories, such as fences require you to plan ahead of time so that you can install them before setting the concrete foundation.
Final Words: DIY Backyard Basketball Court
That wasn’t as hard as you thought, right?
Setting up a DIY backyard basketball court gives you the freedom to practice whenever you want and in the comfort of your home. You can also personalize it to show support for your favorite team.
Another fantastic benefit is that you will have a place for a one-on-one battle with your family and friends in 10 simple steps!
Check out some of the best basketball hoops for backyard over here.

